
Struggling with hard water flowing through your home? You definitely aren’t alone. A major portion of the US residents suffers from this issue. But why is it such a nuisance?
Hard water contains a large concentration of minerals that can bring about plenty of problems. Firstly, hard water doesn’t foam easily, making it difficult to properly clean dishes.
It also clogs and damages your plumbing fixtures, which can be very expensive to repair and replace. That is why you can’t afford to have hard water flowing through your pipes.
Investing in a water softener can save you from all this trouble. And guess what, you don’t even need a professional plumber to install it in your home. Read on to find a step-by-step guide on installing a water softener in your home, how difficult it may be to do so, and everything else you might want to know.
How Difficult Is It To Install A Water Softener?
The difficulty level of installing a water softener can depend on many factors, including the type of water softener you want to install and the installation location.
1. Magnetic Softeners – Easiest to Install
Magnetic water softeners are the easiest to install. You’ll never require professional assistance for these.
These softeners can be installed anywhere in your home. However, you should try to attach them as close to the water inlet supply as possible. By doing so, you can effectively protect your home’s plumbing system from corrosion and damage.
2. Salt-Free Systems – Moderately Difficult
Salt-free systems are usually moderately tricky to install due to their added features and complications. The difficulty level with these largely depends on whether or not it uses electricity and a filter medium.
3. Salt-Based Systems – More Difficult
Because of the complex pipe connections requirement, installing them is slightly tougher than the above two systems. Suppose you aren’t too comfortable with DIY. In that case, it’s a good idea to call a professional to have salt-based softeners installed.
4. Reverse Osmosis Systems – Most Difficult
Reverse osmosis systems, especially those that cater to your entire building, require professional installation because of the complex machinery involved. However, an under-the-sink RO installation can be DIY too.
How To Install Different Kinds Of Water Softeners?
Pre-Installation Preparation
Regardless of the type of water softener you are looking to install, here are some pre-installation steps you need to follow:
- Turn off your house’s water supply and drain all the remaining water in the pipes. All you have to do is open the taps on the lowest floor of your home and let the water run until there’s no water coming out.
- If your house has any electrical water appliances such as water heaters or filters, turn them all off. The absence of water could cause heavy damage and even a fire.
Steps To Install A Magnetic Softener

So, here is how you can install a magnetic softener. Before starting the process, make sure you have the necessary equipment to help you with the installation work.
What Do You Need?
- Screwdrivers
- Wrench
Steps
- Decide where you want to install the softener. As mentioned earlier, you should try to fit the filter as close as possible to the place where the water enters your house.
- Follow the instructions to see how to open the magnet box. After that, fit it onto the pipe such that it hinges on its side while clamping over the pipe.
- Ensure that you install the magnetic box over the pipe such that the water flows through it correctly and in the right direction.
- There should be screws or nuts in the box of the softener. Use them to fix everything in place. Double-check the system before turning your water supply on.
Steps To Install A Salt-Free System
To start installing the Salt-Free System, you need more equipment, and the first task for you would be to bring it together. Lacking any of these is going to slow down your work.
What Do You Need?
- Wrench
- Pipe-cutters
- Compression fittings
- Copper or PVC pipes
- Teflon Tape
Steps
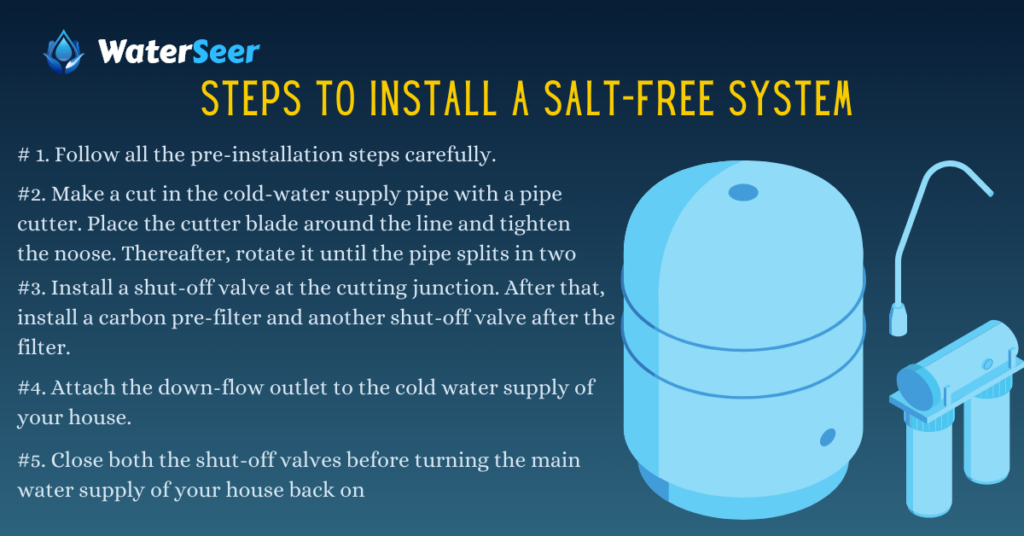
- Follow all the pre-installation steps carefully.
- Make a cut in the cold-water supply pipe with a pipe cutter. Place the cutter blade around the line and tighten the noose. Thereafter, rotate it until the pipe splits in two.
- Install a shut-off valve at the cutting junction. After that, install a carbon pre-filter and another shut-off valve after the filter. Use compression fittings to fix the pre-filters.
- Attach the down-flow outlet to the cold water supply of your house.
- Close both the shut-off valves before turning the main water supply of your house back on. Once the water is on, open the shut-off valves very slowly to turn on the softening system.
Steps To Install A Salt-Based System
Here you will need similar equipment, but the procedure is different.
What Do You Need?
- Pipe Wrench
- Compression fittings
- Pipe cutters
- Teflon tape
- Copper or PVC pipes
Steps
- Before following any of the steps below, check the instruction manual that came with your saltless water softener. Following these instructions will lend your the best results.
- Decide where you want to install the salt-based water softener. Ideally, your softener should be installed at a place where it covers every sink/appliance pipe but is not directly in the hot water line. Additionally, it should be close to a drain.
- Tighten a pipe cutter onto your house’s primary water supply pipeline and rotate it until it cuts the pipe in two.
- Attach an elbow fitting right where you’ve cut off the pipe. This fitting should help you derive unsoftened water by bypassing the filter when needed.
- Some water softeners have the bypass valve pre-installed or included in the box. If that’s the case, grease the bypass valve and fit it in your softener as directed in the instruction manual.
- Measure and cut the pipes that you’ll attach to the bypass valve. Use nipples and Teflon tape wherever needed and fit the pipes altogether to the valve using compression fittings.
- At this stage, you’ll need to connect the draining hose to the softener. Usually, the saltless softener unit will come with a hose, but if it’s not supplied, you can buy it separately. Attach it to your softener at one end and to a floor or sink drain.
- Ensure that the drain hose is 2 inches above the drain hole. This will ensure that there’s no backflow in the softener unit.
- Next, you’ll have to fit the brine tank and connect the overflow pipe. To complete this step correctly, check the instructions with your softener.
Steps To Install An Under-Sink Reverse Osmosis Water Softener
A different set of tools and procedures is followed in the installation of an under-sink reverse osmosis water softener. Check out the steps and tool requirements.
What Do You Need?
- Adjustable Pipe Wrench
- Screwdriver
- Utility Knife
- Measuring Tape
Steps
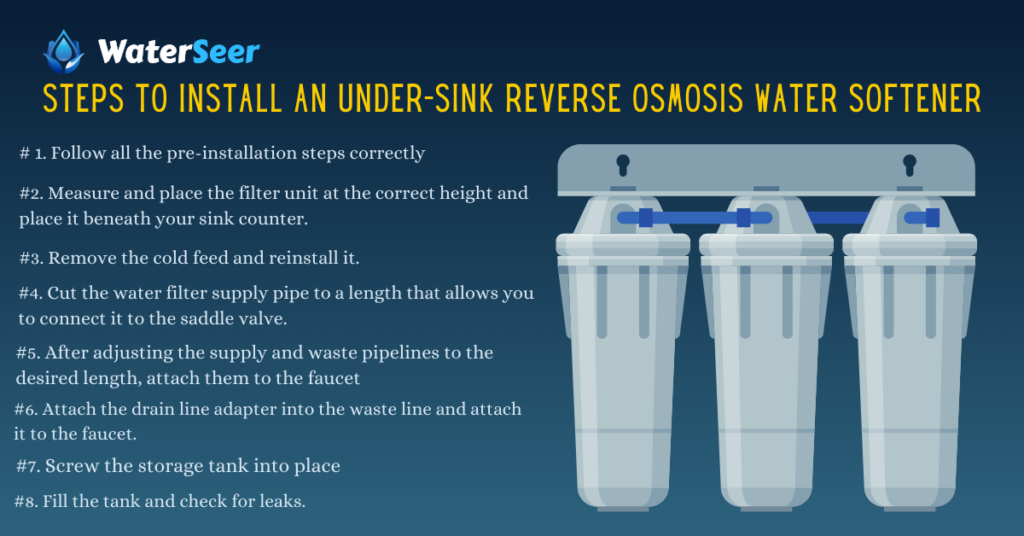
- Follow all the pre-installation steps correctly.
- Measure and place the filter unit at the correct height and place it beneath your sink counter.
- Remove the cold feed and reinstall it such that it screws over the saddle valve that comes with the softener.
- Cut the water filter supply pipe to a length that allows you to connect it to the saddle valve. Attach one end to the saddle valve.
- After adjusting the supply and waste pipelines to the desired length, attach them to the faucet.
- Attach the drain line adapter into the waste line and attach it to the faucet.
- Screw the storage tank into place. Then connect supply lines to the tank.
- Fill the tank and check for leaks.
Do you need a drain for a water softener?
Yes, you will need a drain for a water softener. The majority of the time, it requires draining tubes. When you do this process, ensure the drain hose is above two inches of the drain hole; it will help stop the backflow.
Does a water softener ruin a water heater?
No, the water softener will not ruin your water heater. The main aim of the water softener is to reduce the amount of magnesium and calcium in the water.
Can you drain the water softener into the yard?
Yes, you can drain the water softener into the yard, but we always recommend you do it in the laundry sink, and properly trap a particular outlet, sump hole, or floor drain.
Will a water softener hurt my septic system?
Yes, the water softener can affect your septic system. This is not a very common problem, but a poorly functioning or operating water softener can impact the septic system. This is because they have too much prime waste during the regeneration process, resulting in several other problems.
How do I stop my water softener from killing my grass?
There is a straightforward process of stopping the water softener from killing your grass. If your water softener consists of potassium chloride instead of sodium chloride, it will help you prevent the grass. When using the water softener, ensure you backwash the equipment to remove the excess salt content.
Conclusion
This step-by-step guide will help you install almost any kind of water softener in your home easily. If you’re looking to install a system that centrally softens the water in your entire house, you should consult a plumber to avoid accidents and losses. If you have any questions, contact WaterSeer.org representatives, and they’ll help you out!