
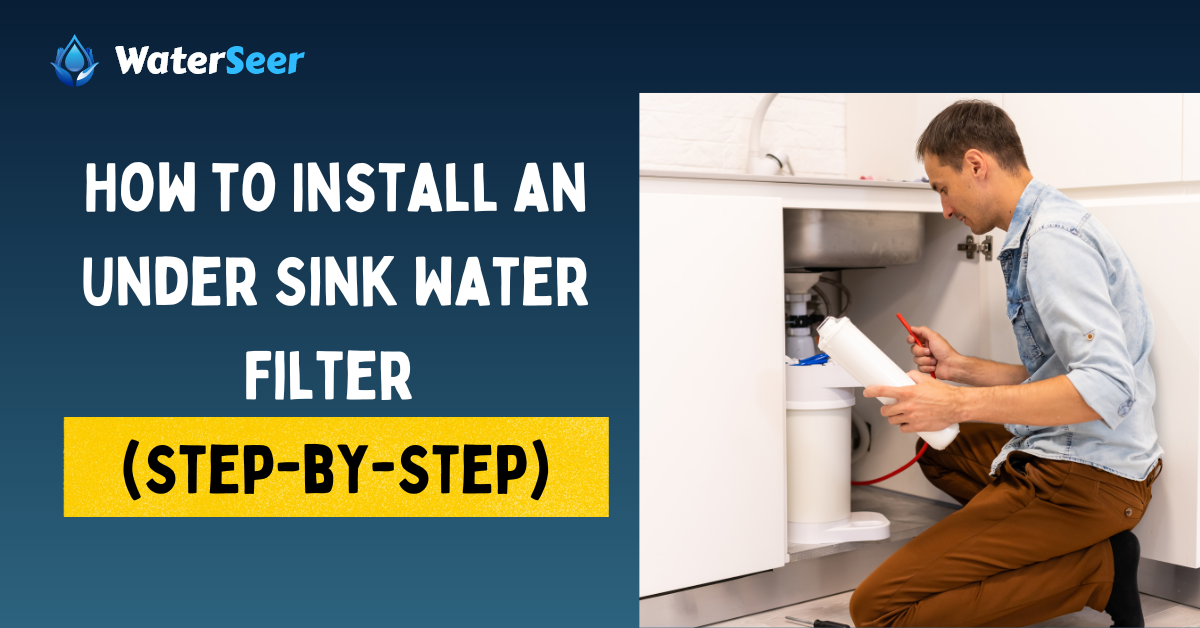
Buying bottled water can be expensive and inconvenient for most people, especially if you have to move big water jugs. An alternative is to install an under-sink water filtration system. This system is cheaper, convenient, and provides clean drinking water for the whole family.
Drinking directly from a faucet with no filter can be dangerous as some water sources contain many impurities that cause several illnesses. Sometimes, even the presence of a whole-house water filter is not enough to produce clean drinking water. Installing an under-sink water filter will make the water safe for drinking.
Oftentimes, this water filter is connected directly to the sink faucet, which means the filter cleans all the water coming out of the faucet. With this, the filter will do more work and will require frequent maintenance. To reduce the work done by the filter, you can create a different water line for the filter and install a water filter faucet.
If the thought of installing an under-sink filter seems like an interesting prospect to you, you’ll find this guide quite useful as we highlight clear steps to installing this filter, including helpful tips. But before then, let’s see the tools and supplies needed.
Tools and Supplies
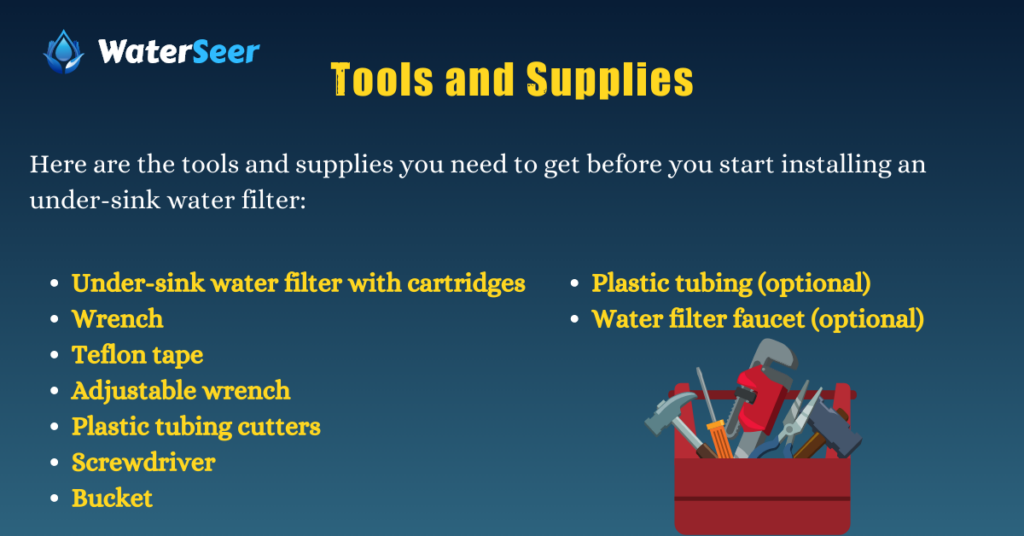
Installing an under-sink filter is only possible with the correct tools and supplies. Without that, it becomes a challenging task that may even leave a broken pipe at the end. Luckily, if you’ve done any plumbing tasks around the home, you more than likely already have these tools.
Here are the tools and supplies you need to get before you start installing an under-sink water filter:
- Under-sink water filter with cartridges
- Wrench
- Teflon tape
- Adjustable wrench
- Plastic tubing cutters
- Screwdriver
- Bucket
- Plastic tubing (optional)
- Water filter faucet (optional)
Steps-by-Step Guide to Install an Under-Sink Water Filter

Installing this filter does not require expert plumbing experience; a little experience with this guide is enough to add a new under-sink filter. Here is a concise process in steps for installing an under-sink filter.
Step 1: Test the Water and Choose the Filter
Before you proceed with installing this water filter, you should first test the water to know the type of pollutants in the water. With this information, you can then choose the best type of filter to use. Take a small water sample from the faucet to a water testing lab for testing.
Using the information from the testing, select the water filter that can remove those impurities from the ghost of different under-sink water filters available. Bear in mind that these filters vary in price and maintenance requirements but share a similar setup process.
Step 2: Shut Off the Water in the Kitchen
The last thing you want is to have water bursting out of a pipe because you forgot to put off the water before working. Ensure to shut off the kitchen or only the cold water valve if you have a hot water system in place.
Turn off the valve attached to the cold water line under the sink and also the shutoff valve from the water line. After shutting off the water to the kitchen sink, water will still remain in the pipes, which is why you should put on the faucet and allow it to drain.
Step 3: Mark the Spot
Marking the intended spot before cutting will save you a lot by preventing costly mistakes. You want to ensure the location you choose is ideal, so you should use the filter when marking a spot.
Place the filter on the wall closest to the pipe and use the mounting bracket to imitate the identify its best position before using this information to mark the spigot on the piping’s.
Step 4: Install a T-Adapter
A t-adapter allows you to channel water for drinking away from the water for the various activities in the kitchen. Separating these two will help reduce the work done by the filter and prolong its use. It is best to disconnect the cold water tubing from the water faucet.
Ensure you attach the T-adapter to the cold water line and not the hot water, which usually has a red tube. Wrapping a Teflon tape around the adapter thread will ensure the connection is secure and water does not leak.
Attach a copper t-adapter with a branch to the cold water feed line by threading the adapter and tightening it with two wrenches. As with other plumbing fittings, overtightening the connection is not ideal.
Step 5: Connect Tubing to the T-Adapter
The first step to installing the faucet tubing is to fix a shut-off valve to the drinking water tube. With the shut-off valve installed, you can carry out routine maintenance on the filter without having to shut off the whole kitchen water line.
Attach the other fixtures of the faucet tubing, including the nut and copper insert, while ensuring it is tight enough to prevent leakages but not too tight to break. The copper insert inside the piping helps it to stay firm when connected to the T-adapter.
Step 6: Drill Faucet Hole in the Sink
If you’re making a separate channel for drinking water, you need a different faucet as well – this means you’ll have to drill the faucet hall into the sink.
You don’t need to create another sinkhole if you already have a soap dispenser hole drilled into the sink. The faucet size will determine the hole size to drill; however, most faucets are standardized and will fit a 1⅜” hole.
The countertop material will determine the type of drill you need, with some materials like granite requiring a grinder and utmost care so you don’t shatter the sink. Check out drilling techniques for your particular countertop material to avoid damaging the sink.
Step 7: Install the Faucet
The fittings for installing the faucet include washers, brass inserts, and nuts which will hold the faucet in place. You may need an extra hand for this step to hold the faucet in its correct position while you tighten it from under the sink.
Attach a rubber washer to the faucet and then strip the protective coating off the chrome plate surface while ensuring the rubber washer fits inside the chrome plate.
With the chrome plate attached to the faucet, put the faucet through the drilled hole and secure it underneath using the black plate, locking washer, and nut. Also, connect the faucet with the tubing from the t-adapter.
Step 8: Mount Under-Sink Filter Unit
Mount the filtration system to the marked spot on the wall or cupboard closest to the T-adapter. The position you choose should leave enough room underneath so it is easy to remove the filter housing. It needs to be secured to the wall due to the weight of the system.
Use a drill to make holes for the mounting bracket that comes with the filtration unit. With the mounting bracket firmly in place, secure the unit to the bracket using the screws provided in the box.
Step 9: Connect the Plumbing
With the filtration unit firmly in place, the next step is connecting the unit to the water supply and the faucet tubing. Identify the inflow and outflow ports on the filtration system as they are essential to getting clean water.
Connect the cold water line branched using the t-adapter to the unit’s inflow port and the faucet tube to the outflow port. Ensure to wrap the threads with Teflon tapes to keep the connection secure and avoid leakage.
Step 10: Run Water Through the System
Turn on the sink water valve and the filtration line valve slowly so water gradually enters the unit without overwhelming it with increased pressure. By pressing the pressure valve, you relieve all the air trapped in the unit and allow water to fill the system.
Slowly turn on the water faucet and allow it to run for about five minutes to rinse the filtration unit and remove carbon particles. Check the connections for leaks and thread with Teflon tapes while sealing properly.
5 Types of Under-Sink Water Filters
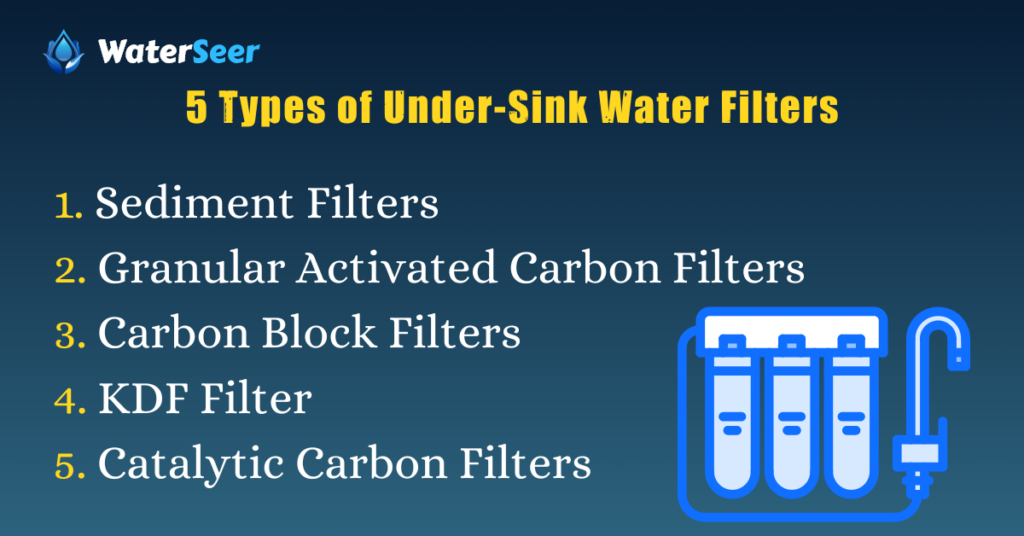
There are different types of under-sink filters based on the type of impurities they remove. Since filters mostly focus on blocking a few related contaminants, getting the right filter combination that will remove the exact impurities in your water is vital. Here are some of the common under-sink filters and the contaminants they tackle.
1. Sediment Filters

One of the most common filters is they are usually the first filter in multi-stage filtration units. The standard pore size of this filter is 5-10 microns which blocks sediments like dirt, dust, and rust particles but not smaller particles.
2. Granular Activated Carbon Filters
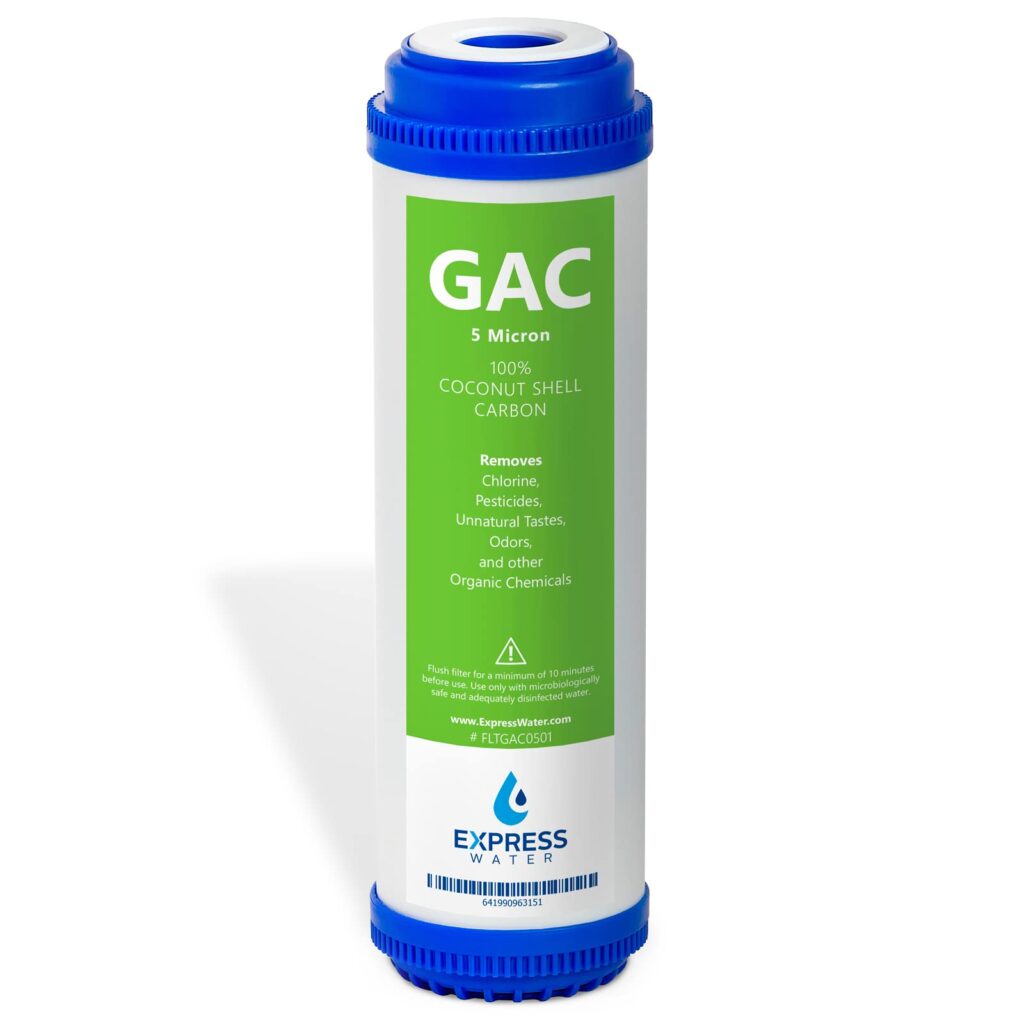
Granular-activated carbon filters are common second to third-stage filters in multi-stage filtration systems but can also serve as a single-stage system. The system uses chemical reactions and the process of adsorption to pull chemicals out of the water.
3. Carbon Block Filters
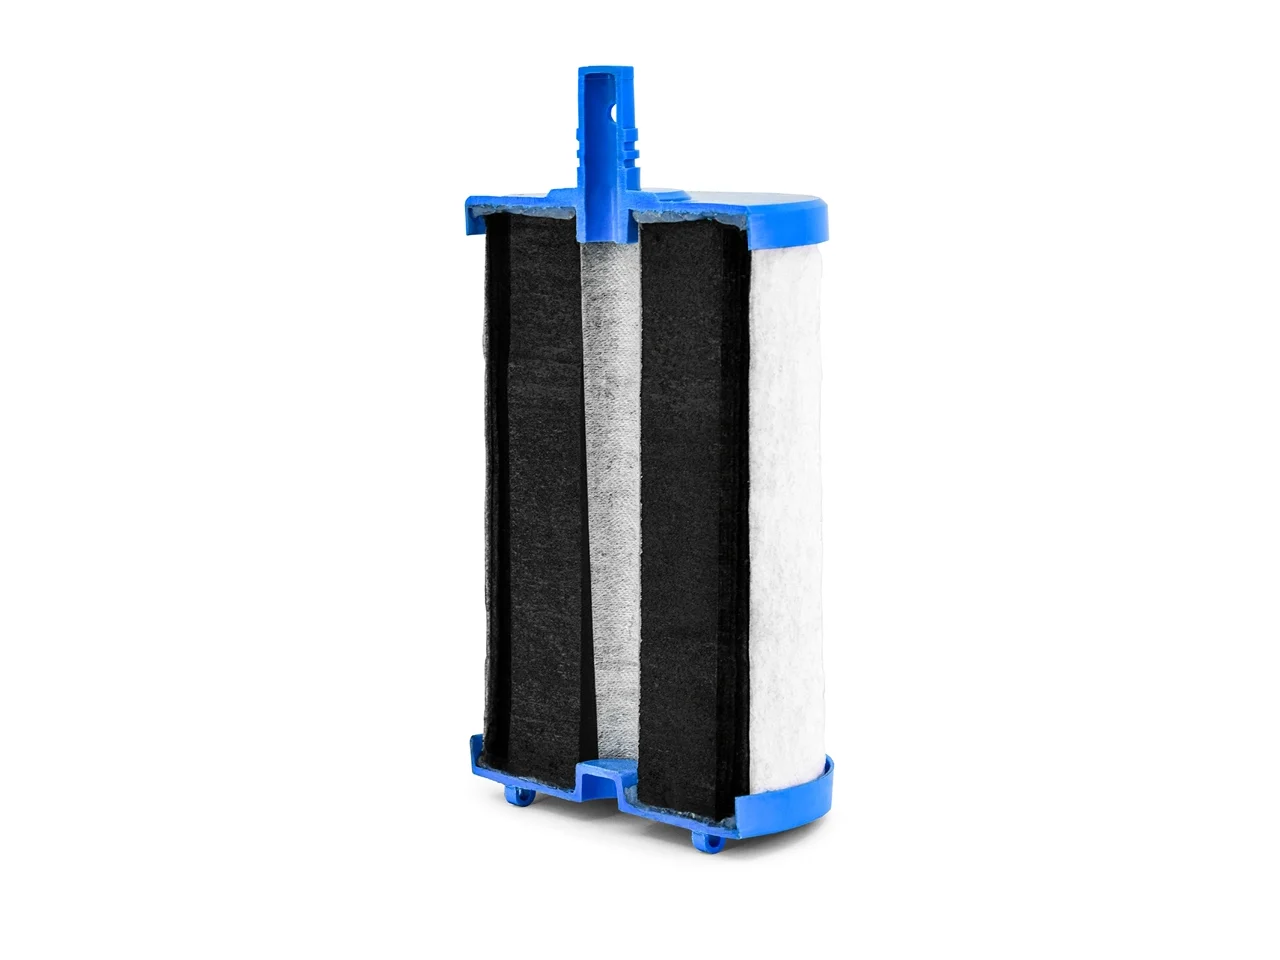
Carbon block filters remove tiny contaminants that sediment filters cannot remove, as their filters feature micron ratings between 0.5 and 1.0. They are made when powdered carbon is compacted into blocks.
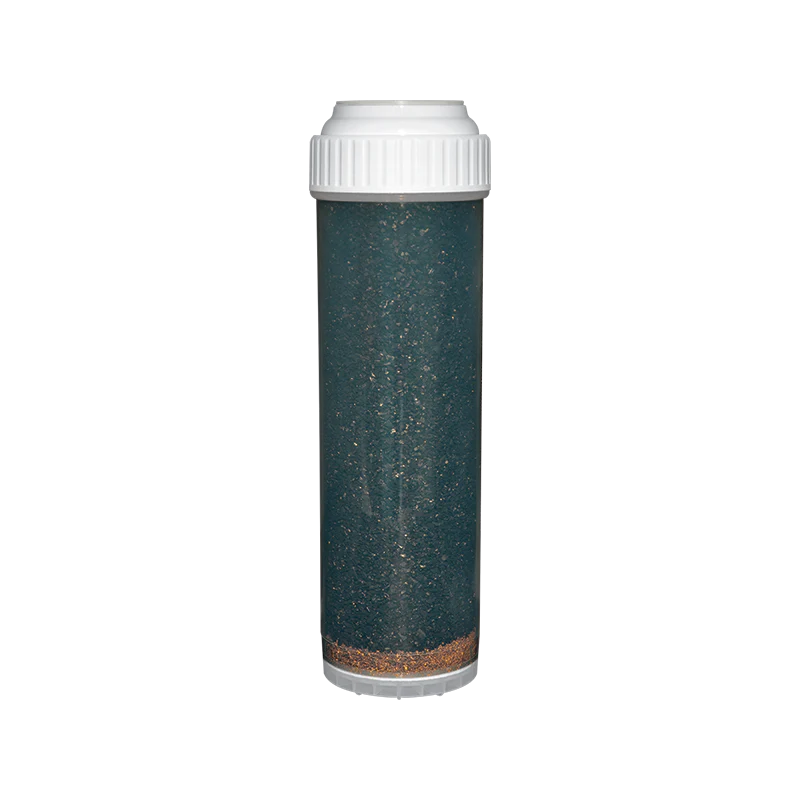
4. KDF Filter

KDF filters combine copper and zinc to remove contaminants through the redox process. They are often used in multi-stage systems or blended with carbon in a single-stage filter. KDF filters are ideal for removing lead, chromium, mercury, and chlorine from water.
5. Catalytic Carbon Filters
Chloramine is common in tap water and is often a persistent pollutant, making regular filters less effective in removing them. Catalytic carbon filters focus on removing chlorine from water and can be used in a single or multi-stage system.
FAQ’s
Here we highlight some common questions about installing an under-sink water filter and their answers to help your installation process.
What order do water filters go in?
For multi-stage systems, sediment filters are usually the first, followed by ion exchange, KDF, or carbon filters, depending on the pollutant you want to remove. A semipermeable membrane level might also be while a polishing filter completes the system.
How to install an under-sink reverse osmosis unit?
The difference between installing a reverse osmosis unit under the sink and a regular under-sink filtration unit is that you’ll need to fix drain lines and storage tanks for the reverse osmosis unit.
Should I employ a plumber to fix my under-sink filter?
Employ experts’ services if you’re uncomfortable doing DIY plumbing activities. While the process is straightforward with the right guidance and tools, you can also damage some piping’s if you don’t do it right.
Summary
Installing an under-sink filter may seem like a challenging process, but it can be completed in under an hour with the right guidance. Whether you’re fixing a single-stage or multiple-stage system, following a concise process to get clean drinking water is vital.