
Under-sink water filters are effective purifiers for certain types of contaminants like odor, taste, dissolved solids, and chemicals, but their effectiveness reduces with time. With time, these water filters will no longer clean the water coming from your sink and expose you to so many dangers. Replacing the under-sink filter is the best way to regain its effectiveness.
How do you replace an under-sink water filter cartridge that is no longer purifying? While most people dread replacing their under-sink water filter cartridge as it may seem like a difficult challenge, the process is easy when you know what to do. This guide discusses the steps to change the cartridge of your under-sink water filter.
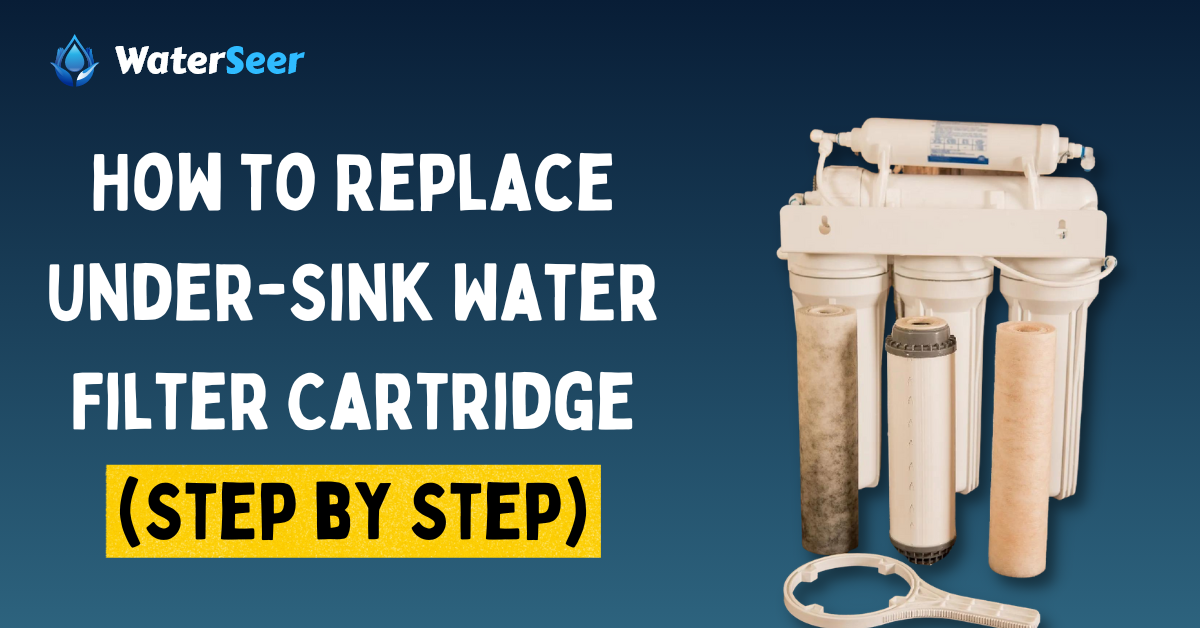
Tools and Materials Required
To replace an under-sink water filter cartridge and ensure it continues to clean the water coming from your sink, you’ll need these materials and tools:
- Under-sink water filter cartridge
- Oil
- Wrench
- Cleaning brush
- Water
- Small bucket
- O-rings
Steps by Step Process to Replace Under-Sink Water Filter Cartridge
Prolonged use of filter cartridges in homes starts losing its effectiveness. Hence, replacing your water filter cartridge every six to twelve months is the ideal time. Here are the steps to follow to replace an under-sink water filter cartridge:
Step 1: Close The Water Valve And Release Pressure
Before changing the cartridge in the filter chamber under the sink, you must turn off the water feed valve for the sink. Turning off the place will stop the pressure from pulling water out and prevent leakages.
Wherever sink feed valves are not present, you may have to turn off the home water supply. Turn off other water units from the source, too, like tank-based reverse osmosis units.
After turning off the water valve, you need to relieve the pressure in the filtration unit to prevent water from spilling off the unit once opened. Turn on the sink faucet and allow the water to run out to release the pressure in the pipe.
Sometimes, filtration units have systems in place to relieve the pressure in them before opening. These systems can be in the form of a vent valve or even a faucet. Open the filtration system’s faucet or vent valve to release pressure.
Step 2: Open The Filtration Unit
With pressure out, you can now open the filtration unit but not until you’ve placed a small bowl under the filtration unit. Even after pressure has been released from the filter, there will still be water dripping, so placing the bowl under to collect the water droplets is ideal.
Gently pass the filtration housing wrench under the filter unit and slide it up as far as it can go before turning counterclockwise to open. Drain any water found inside the filtration unit in the sink and ensure to replace the cartridges one at a time if your unit features several filtration stages. Opening the filtration unit will expose the cartridge you need to replace.
Step 3: Check O-Rings
Remove the old filter cartridge and check the O-ring. The idea is to observe the position and condition of the O-ring, ensuring that it sits properly on the groove and is not attached to the filtration head. Sometimes the O-ring is broken or filled with dirt making it difficult to seal the unit properly.
Replace broken, hard, or dirty O-rings with new ones to maintain the seal and prevent leakages. Some units have two O-rings on the top and bottom of the cartridge, so you should check for the second O-ring to ensure it is not stuck to the inside of the filtration unit.
Most manufacturers recommend replacing O-rings annually to ensure it continues to properly seal the unit. Replacing the cartridge without removing the stuck O-ring at the bottom of the unit will mean it doesn’t seal properly.
Step 4: Inspect The Old Filter Cartridge
Before rushing to replace the filter cartridge, it is best to inspect the old cartridge. Checking the old cartridge for the amount of gunk and dirt will give you an idea if you should change the filter earlier next time, considering the amount of dirt in the cartridge.
Replacing the cartridge at the right time will ensure the filter is always working at its maximum and prevent exposure to harmful contaminants in the water.
Step 5: Clean The Filtration Unit
After removing the old filter cartridge, inspect the insides of the filtration unit for dirt. In most cases, you’ll find gunk inside the unit, which will hasten the buildup of gunk on the cartridge. Clean the insides of the filtration unit to remove mold, mildew, and algae that may have grown.
Use a long cleaning brush and soapy water to clean the insides of the unit, ensuring you scrub everywhere. Rinse with clean water and allow to dry.
The presence of algae and mold in the filtration unit means sanitization is vital. Dilute the beach with water and pour it into the filter housing before turning on the water valve so the water can fill up the unit.
Turn on the sink faucet, so draw the bleach solution into all the pipes and sanitize it. Don’t forget to rinse to wait for about 20 minutes before putting off the water valve and removing the bleach solution. Rinsing the pipes will ensure the bleach is completely cleaned from the unit.
Step 6: Install New Filter Cartridge
Before installing, clean the cartridge by soaking it for 30 minutes in warm, soapy water and then rinsing it with cleaning water. Place the filter cartridge into the filtration unit and ensure the O-ring fits in the grooves.
Twist the housing back into the filtration unit head while turning clockwise to tighten. Use the wrench to tighten the final lap, ensuring you don’t overtighten the unit since the O-ring helps to seal the unit. The key to tightening properly is ensuring the cartridge is put correctly into the grooves.
Step 7: Turn on Water Valve And Check for Leakage
Turn on the water valve, all creation unit valves, and the sink faucet to allow water flow so you can observe for any leakage. Bear in mind that to avoid damage to the filtration system due to sudden pressure, turn on the valve slowly to reduce the pressure of the water entering the unit. If there are leakages from the filtration unit, check if the housing is fitted properly in the grooves and that it is tight enough.
Extra Tips
Here are a few extra tips to guide the replacement, prevent damage, and ensure fitting filtration units after installation:
- If the housing doesn’t screw back properly you may have installed the cartridge on the old O-ring inside the housing or may have put the cartridge the wrong way. Check for the old O-ring inside the housing and remove it before placing the cartridge. Also, turn the cartridge the other way inside the housing if you don’t find any O-ring obstructing the cartridge.
- Under the tank, reverse osmosis systems require repressurization after replacing filters. Repressurize the empty tank to 8 psi.
- Use a filtration wrench to open the stuck housing
- If you notice any leak after installation, an out-of-place O-ring is often caused. Check that the O-ring is properly in the grooves.
- Replace O-rings every time you change the cartridge to ensure it remains clean.
- Don’t over-tighten the housing or under tighten.
FAQ’s
Have you got any questions about replacing under 5-3 sink filtration cartridges, you may find the answer here as we’ve compiled some of the most asked questions and their answers.
When to replace the sink filtration cartridge?
It depends on the type of filter, with sediment filters having the shortest period at 6 months. Carbon filters last for nine to twelve months, while post filters last for 12 months. RO membranes have the longest effectiveness as they can last for 24 months. In general, changing the filters between six to twelve months is ideal.
What signs indicate you need to replace the filter cartridge?
When you notice poor taste and smell, reduced water flow, and sediments in the water, all these are signs you need to replace the under-sink filter cartridge.
How do you remove the filter under the sink?
Twist the filter housing counterclockwise using a filter wrench before completing the turning using your bare hands. Slide the old cartridge out and replace it with a new filter and then tighten the housing back to the filtration unit.
What to do when the red light does not change to blue after replacing the filter cartridge?
Check that there is no old O-ring obstruction inside the housing, the cartridge is placed in the correct position, the O-ring properly fits the groove, and the housing is not too tight.
Summary
People do not have to feel intimidated when faced with replacing under-the-sink filter cartridges seeing how easy it is to change. Start by offing the water valve and depressurizing the system before opening the housing and replacing the cartridge. You may have to clean and sanitize the system before replacing it with a new cartridge and tightening the housing.
Installing an under-sink water filter is easy, and so is replacing filter cartridges when you follow the right guide.