As a house owner, knowing there is a leakage or specific issues with the sink drain pipe or anywhere in the plumbing system is always painful. Whenever there is a leak, it automatically comes to your mind that there may be something broken, loosened, worn out, or damaged in the pipe.
Sometimes this simple leakage can result in a huge issue that leads to calling a plumber and asking them to fix it properly. But calling a plumber or asking a professional for help can always be expensive.
So in this article, we will discuss the simple ways you can quickly fix or seal a sink drain pipe without going for professional help. This will save a lot of money and provide you with the knowledge you may use to fix other leaks in your house!
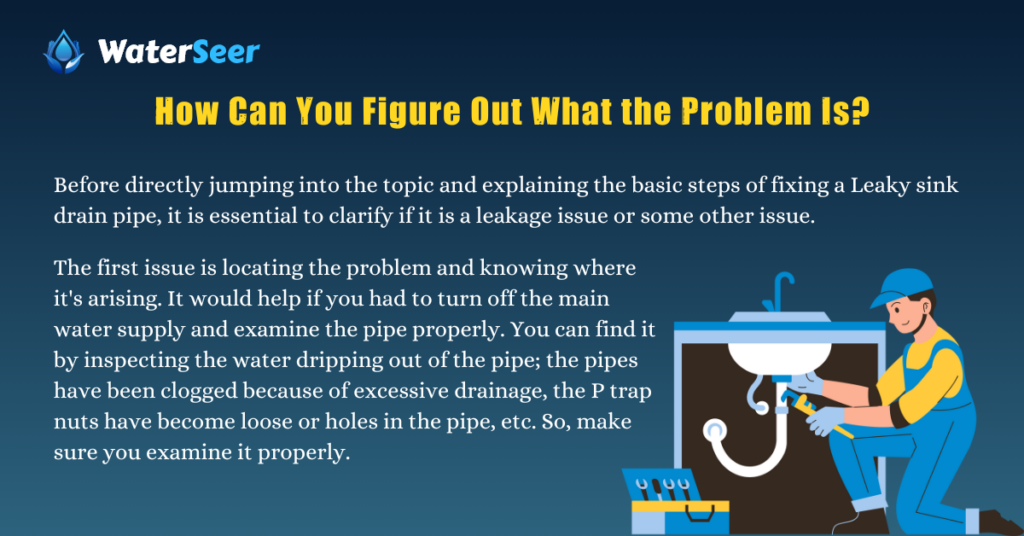
How Can You Figure Out What the Problem Is?

Before directly jumping into the topic and explaining the basic steps of fixing a Leaky sink drain pipe, it is essential to clarify if it is a leakage issue or some other issue.
The first issue is locating the problem and knowing where it’s arising. It would help if you had to turn off the main water supply and examine the pipe properly. You can find it by inspecting the water dripping out of the pipe; the pipes have been clogged because of excessive drainage, the P trap nuts have become loose or holes in the pipe, etc. So, make sure you examine it properly.
Once you have located the problem, it’s time to act on it!
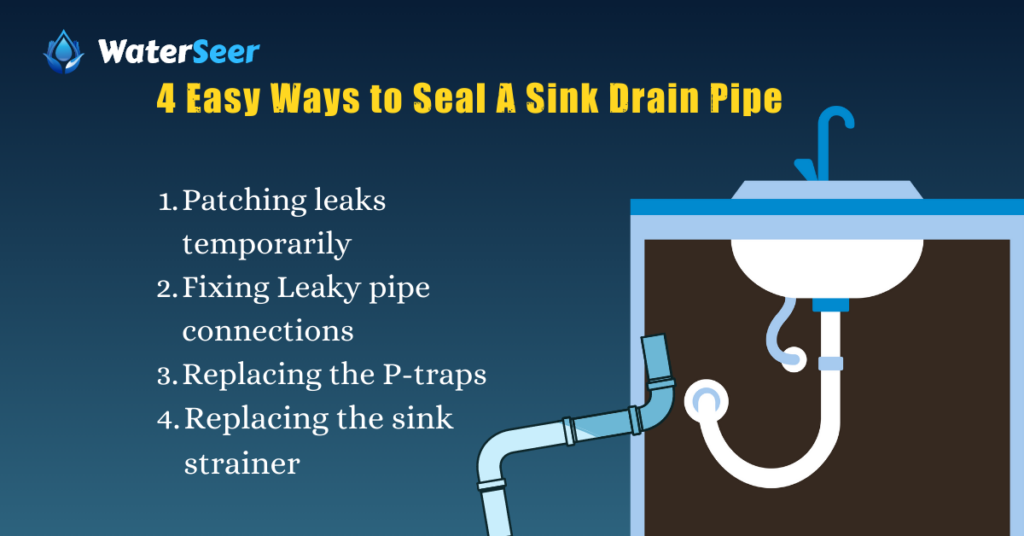
4 Easy Ways to Seal A Sink Drain Pipe

There are several ways by which you can quickly fix a Leaky pipe. In this article, we are going to discuss multiple methods, but to save you time, here is the list of all the ways that we are going to discuss in detail:
- Patching leaks temporarily
- Fixing Leaky pipe connections
- Replacing the P-traps
- Replacing the sink strainer
Before discussing the methods and details, you must remember certain things. For example, ensure the sink (having a leaky pipe) will only be in use for a short time. Furthermore, before starting the work, you have to close the main water supply so that water flow wouldn’t be an issue. Each method has multiple options so that you can use anyone based on compatibility.
1. Patching Leaks Temporarily
The options mentioned below or discussed in this section are temporary options that can be used when you don’t have much time to fix the leaky connections/pipes permanently. So make sure that you are following the procedures carefully! As a note, we want to remind you that after certain months you can again face the issue of a leaky pipe.
With the Help of Epoxy Putty
Epoxy putty is one of the most commonly used options by most house owners to fix a leaky pipe. You can easily buy it from a nearby hardware shop or order it online. This option is very budget-friendly and does not require professional help. The best part of using this option is that epoxy can stick to any type of pipe, so you don’t have to worry about the material of your pipe.
The epoxy putty packaging has two components: a hardener and a base. Knead the components and mix until and unless they get solidified to around 1.3cm thick. Apply this mixture in the section from where the leakage is taking place. Cover the area adequately, and re-apply it after a specific time. Leave this mixture for some time until it gets dried.
To check whether this worked, open the tap water for 1 minute. If you see, there is no leakage; your job is done. Most of the time, the epoxy putty does not show leakage signs in the first 2 to 3 days. After some time, you can notice the deposition of moisture or water in the epoxy putty, which means you have made a few errors while performing the task. Remove the dried epoxy putty nearby the pipe, as it is useless. Now, repeat the procedure without committing any mistakes.
With the Help of Silicon Tape
Silicon tape is another temporary solution that can be used in place of epoxy putty. It can be easily found in hardware stores, or you can order online. If the leak is nearby the joints of the pipe, then this is the best temporary solution for fixing the pipe.
Furthermore, if you live in an area with very high water pressure, we recommend you use any other option. This option is very suitable for a location where the water pressure is low because the Silicon tape can last for a few months in such a situation. The high water pressure will not allow the Silicon tape to stick to the pipe for long.
Another crucial thing about this option is that the Silicon tape does not tightly attach or stick to the pie, so you must repeatedly overlap it to enhance efficiency. Make sure that you make a tight seal by rotating it properly. The process of silicon tape is very similar to the regular tape we use in our stationery. So you don’t require professional help or a DIY video to do so.
Note: When you try this option, ensure your pipe is clean and dry. The wet pipe will not allow the Silicon tape to stay in place for a very long time, so give the Silicon tape a proper time to make a tight Junction with the pipe.
Using a Pipe Clap
Most of you may not hear of a pipe clamp, but it is a type of flat rubber piece known as a gasket. It also has a metal fastener attached to the pipe and helps you to secure the leak temporarily. This can be easily found in the nearby hardware Store, or you can order it online but make sure that you already know the dimensions of your pipe.
Your pipe size and the pipe clamp size should be similar to form a tight seal, thus preventing leakage. They come in different sizes so that you can search for an appropriate-sized clamp. Moreover, we recommend you avoid the clamp if the leakage is nearby a corner or joint of the pipe because this clamp requires a proper place to sit or fix.
So if the leakage is near a corner or a joint, the pipe clamp will not be appropriately adjusted, resulting in the leakage again. After you have located the problem and invested in a suitable pipe clamp, we recommend you use an adjustable wrench to tighten the clamp.
NOTE: the adjustable range is a widespread plumbing tool and will help you to tighten the loosed nut of your plumbing system.
Also Read: What is a P-Trap? How Does it Work and How Can You Clean It?
2. Fixing Leaky Pipe Connections
There are several options for fixing Leaky pipe connections. This section will discuss the most common and simplest option that can help you without investing much time in fixing a leaky pipe.
By Tightening the Slip Nuts
Several types of nets are all over your house’s plumbing system. Whenever any leaking issue occurs, you should check if it is nearby the nut or pipe. Most of the time, the nut can lose, too, resulting in leakage. So we recommend you locate the problem, especially where the vertical pipes are connected to the drainage system of your house.
Now rotate the nut enough in a counter-clockwise direction to tighten it correctly. If you don’t want to use your hands or notice that you cannot turn the nut with your hands, so use the adjustable wrench. This will help you to tighten the nut, thus preventing leakage. To check if this works or not, turn on the water supply. If you see no leakage means the job is done. But if there is still leakage, tighten the nuts again. To enhance this process, ensure there is no Leaky water nearby the pipe, so wait until it gets dried properly.
Replacing the Rubber Gaskets
Every component or object in your house requires replacement when it gets old, RIGHT? The same happens with the plumbing system as well. A small rubber piece, a gasket, is fitted into your pipe to make a strong connection. It is sometimes also known as a water-tight seal because it does not allow the water to leak. But once it’s getting old or cracked, it can leak, so replacing them becomes vital.
Whenever you buy the gasket, make sure you know the size, or for your help, you can take the old rubber with you to ask the shopkeeper to give you an appropriate-sized new gasket. Don’t worry. You don’t need professional help to perform this; you just have to loosen the nut and place the gasket. Ensure that the gasket’s narrow end is towards the end of the pipe to make a firm, water-tight seal.
Wrapping the Teflon tape Around the Metal Pipes
This is one of the most commonly used options, even by plumbers. This kind of tape is also known as plumber or Teflon tape. They’re responsible for making a water-tight seal so that the water does not get leaked from the pipe. This works best if you have metal drain pipes at your house. Firstly unscrew the nuts, and you will notice some threadings around the metal pipes. Now use the plumber’s tape around this threading to overlap them clockwise and make a tight seal. Once you are done, cut the tape and screw the drain back together.
Note: Do not use Teflon or plumber tape in the plastic or PVC pipes because if you overtighten, the tape will damage the pipes, or the pipe can break. So avoid using Teflon tape in a plastic pipe.
3. Replacing the P-Traps
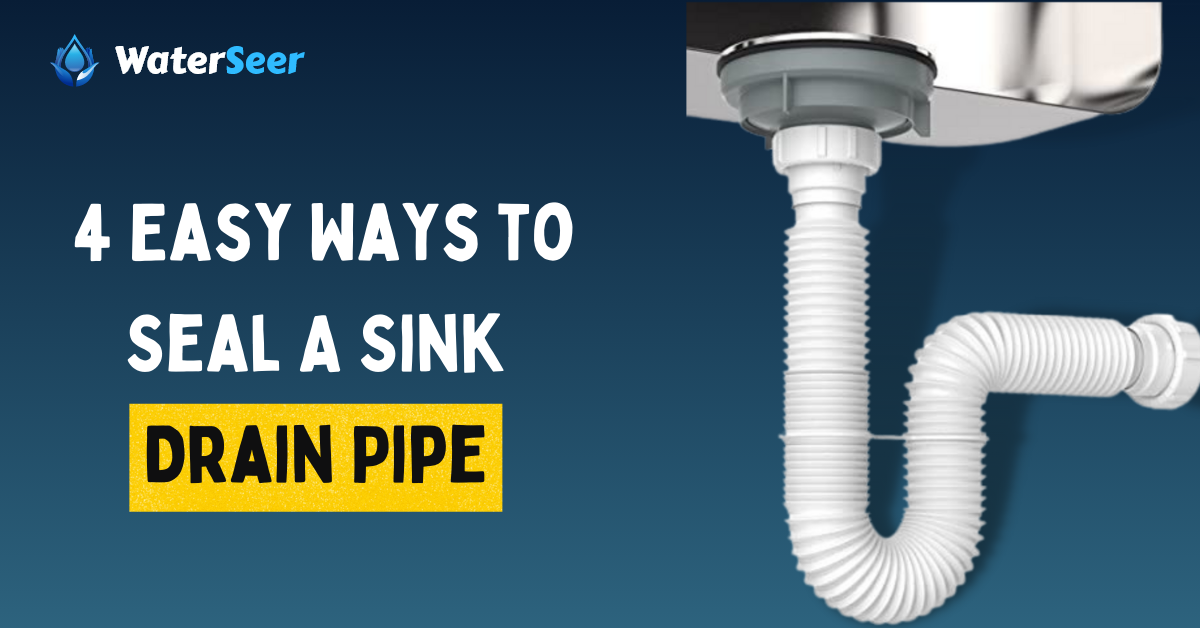
The p-trap is commonly found under the sink and can be easily visualized by the human eye. You will notice a P or U shape attachment under your sink, known as a P trap. This part of the drainage system is critical. To replace the P-trap, follow these steps:
Step 1: Collect all the materials like a new P-trap, a bucket, a cloth, an adjustable wrench, a flashlight, etc. You don’t require a flashlight if you can quickly see every part of the P trap under the sink.
Step 2: Place the bucket under the leakage area. If you are working in the kitchen sink, then it will have several contaminants blocked at this part. The P-trap is one of the most crucial components of your plumbing system, as it is directly present under the sink. Every water and food particle from the sink moves and deposits in this area.
Step 3: Unscrew the nut near the P trap and adequately collect all the residual water and contaminants in the bucket without creating a mess. Use a cloth to clean the lot, as it will smell.
Step 4: Clean the nearby area of the pipe before installing the new P trap.
Step 5: Now, place the new P- Trap in the place. Make sure you do it correctly. Attach the right sides of the P-trap to the pipe. Once you have fitted the P trap now, it’s time to screw the slip nuts back again.
Step 6: Once you have completed the task, perform a run test by initiating the water supply for some time. If you see no leakage means the task is done. But if there is leakage, we will recommend you tighten the nut again.
If you use this option, you must keep certain things in mind. For example, the P trap comes with various options that entirely depend on the material of your pipe. For example, the metal Pipe and plastic pipes are different, so the p-trap also varies. Apart from this, to enhance the efficiency of the P-trap, we recommend you perform maintenance every three months by cleaning the P- Trap with a flexible wire. It can be easily found in hardware stores, or you can order it online.
4. Replacing the Sink Strainer
A sink strainer is one of the most budget-friendly options, which not only helps you solve the issue of sealing a sink drain, but it prevents you from most of the problems associated with your plumbing system. A sink strainer can be easily found in nearby stores, and you can order it online.
A sink strainer’s primary purpose is to prevent the food from getting into your pipes, which causes leakage and cracking. It will not allow the food materials to enter the pipe and create specific issues directly.
If you want to avoid going through the complex process of losing the nut and going under the sink, you can buy a simple strainer and keep it in the sink area. Whenever you use the sink to wash the utensils, place this additional sink trainer; this will work as a double protection.
Apart from this, you can permanently fix a new sink strainer if there is any problem with your previous one. We have listed the steps below:
Step 1: Disconnect the drainage pipe by going under the sink and losing the slip nut. Rotate the nuts in a counter-clockwise direction.
Step 2: Remove the sink strainer by grabbing it properly and pulling it out from the top. Kindly note that few strainers have screws, so ensure you unscrew them properly.
Step 3: Make sure your new strainer size must match the old one. Before installing the new one, clean the drainage hole with a tissue or a cloth.
Step 4: Apply the plumbers putty around the hole to make a water-tight seal, and place your strainer. Create enough pressure so that the sides of the strainer of the things can attach to the putty and make a vital Junction. Now place the new strainer in the hole, and ensure you are fixing it properly.
Step 5: It’s time to attach the pipe again with the drainage, so do it properly and tighten the nut. Ensure you do not overtighten it because it can result in other issues afterward.
Step 6: After some time, perform a run test once the putty is dried. If there is no leakage, you have completed the task properly.
Above are the four methods that can be used to fix or seal a sink drain pipe. As an ending note, we recommend periodically maintaining the sink and pipe to enhance efficiency. Apart from this, whether you opt for a temporary or permanent solution, your pipe can create specific issues if it needs to be updated. So ensure that you are buying a pipe that is durable enough so that it does not require replacement.
Sometimes you can also use a mixture of chemicals like Ammonia or bleach to unblock the drain pipe and enhance its efficiency. This will help the drainage system to release the pressure that may be built up in the pipe.
Frequently Asked Questions
Is it essential to seal a sink drain pipe?
Yes, it is essential to seal the sink drain pipes to avoid leakage issues or cracking of the whole pipe in the future. Whenever there is a leakage, it is better to fix it asap if you want to avoid investing in buying a new pipe later.
Where can I get all the equipment like plumber tape, Teflon tape, adjustable wrench, etc.?
All these products are one of the most commonly used plumbers’ equipment and should be in your house as they are of great use in emergencies. You can easily buy this equipment from hardware stores or order them online.
Does my plumbing system require periodic maintenance?
Every system requires periodic maintenance, but you can only perform this in a few parts of your plumbing system. We recommend you perform periodic maintenance every three months for the pipe, sink, P-trap, and other visible parts.
Conclusion
As we conclude this article, we hope that this article has helped you in gaining specific knowledge about how to fix or seal a drain pipe in easy steps. The steps are the most straightforward options; users can do them independently without requiring DIY videos or professional help.
We hope that the article has helped you in solving the issue. Whenever there is any issue in the plumbing system, look at the problem before asking for a professional service or fixing the problem by yourself. Leakage or Breaking the pipe is the most common issue the house owners face, which does not require professional help. But if you face any significant problem in your house’s plumbing system, we recommend you hire professional help.
Also Read About: How To Tighten Kitchen Faucet Nut Under The Sink?

