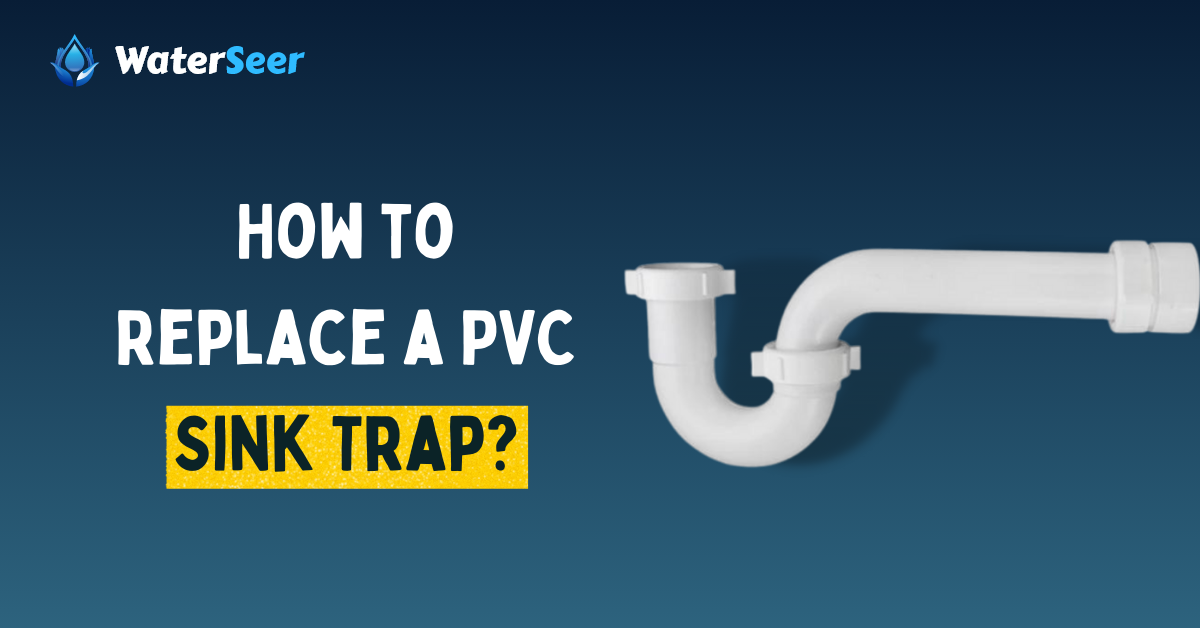
PVC Sink Trap is one of the most common components of your plumbing system visible to the human eye. You can quickly locate it under the sink area, and it is one of the most common components that create frequent issues.
As a house owner, monitoring and regularly checking the sink trap becomes essential. So, you should always prioritize fixing problems whenever it causes or leads to any problems. The main reason behind this is it will lead to other problems, waste a lot of water even when you don’t open the tap, and create a lot of mess. You will have to clean the area again and again, which can result in losing of nuts nearby, etc. So, make sure that, whenever there is any issue, you replace the P-trap asap. Replacing the PVC sink traps is easy and does not take much time.
In this article, we will discuss how you can substitute a sink trap in a few minutes; make sure you read this article carefully!
How to Locate the Sink Trap?

Before directly jumping to the steps of replacing the sink trap, we should first locate where is this part of the plumbing system. Now we recommend that if you know what we are talking about or what is PVC sink trap, then you can move to the next section.
But if you need to learn about the PVC sink trap, we recommend you understand it first instead of directly trying to resolve it. The problem may be something else, and you are dealing with the situation differently. So, ensure you understand it completely before checking the steps, Directly.
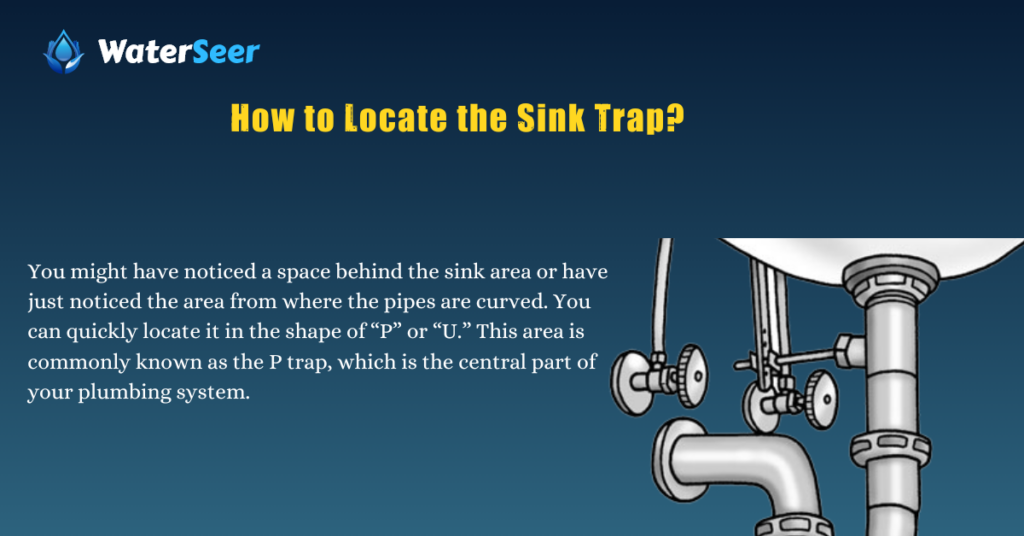
You might have noticed a space behind the sink area or have just noticed the area from where the pipes are curved. You can quickly locate it in the shape of “P” or “U.” This area is commonly known as the P trap, which is the central part of your plumbing system. Most of its work is to capture the dirt and process the dirty water into the plumbing system or the sewage area. The trap can come in different materials that may depend on your budget. As it does most of the essential tasks in your plumbing system, ensure that you replace it as soon as you detect a problem. Also, the chances of corroding are way too familiar at this part of the plumbing system, so ensure that you invest in a good material P-trap.
Also Read:- 5 Simple Steps To Fix A Leaking Sink Pipe
How to Replace a Sink Trap?

In the above section, we have already discussed how you could locate the P trap, so now it’s the perfect time to start our replacement process. Before starting the actual work, collecting all the materials to replace the PVC Sink trap is mandatory so that you wouldn’t have to get up again and again to collect the materials. Below is the list of all the materials that you may require to replace a sink trap:
- A new P-trap: You will require a new P-trap because your plumbing system is useless without a P-trap. You can easily find a new trap or order it online in a nearby household store. Apart from this, make sure that the size of your sink, and the p-trap match, because if it doesn’t match, they will create leakage issues, or they will not fit into the sink, so the dimensions should match the old one.
- A bucket: As discussed in the above section, the P-trap is one of the most critical components of the plumbing system. It collects the dirt and roots the water and other substances in the sewage pipe. That means it will have lots of components stuck in it. So make sure that you have a bucket to collect all this material.
- A cloth: In order to prevent yourself from all the mess, it is essential to have at cloth beside you. Apart from this, if the dirt gets into the floor by mistake, you must clean it as soon as possible because it can result in a disgusting smell after some time.
- Flashlight: Flashlight is one of the most important components because the space behind the sink area is very dark, especially if there is no light nearby. So make sure to have a Flashlight. If you can handle your phone with care, then you can use your phone as well, but we will always recommend you opt for the flashlight instead of your phone.
- Some basic plumbing instruments: If you have Tongue-and-groove pliers or an adjustable wrench, etc., keep them nearby. This is always an optional choice because most of the P-trap system doesn’t have any nut nearby, but few of them have. Ensure you have checked the nearby components and carry all the necessary equipment.
We hope that all the above equipment is already in your house and you don’t have to go and buy a new one. Now let’s directly jump into a step-by-step process of replacing the P drop:
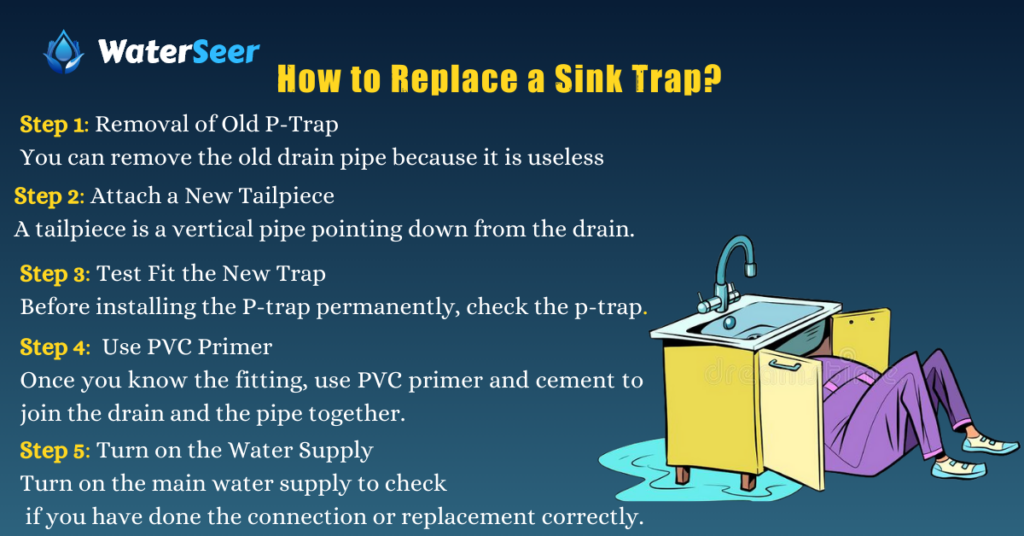
Step 1. Removal of Old P-Trap
You can remove the old drain pipe because it is useless. You can do it with your hands directly, but if it has nuts nearby, we will recommend you unscrew them properly. Ensure you have a bucket under the P trap because it will likely have standing water and other dirt.
NOTE: Perform this step carefully to avoid creating a mess.
Step 2. Attach a New Tailpiece
A tailpiece is a vertical pipe pointing down from the drain. Make sure that you are removing this particular piece as well. Make sure that you are losing the nut and performing every task very carefully without creating any harm to the draining pipe. There will be a trap arm; if it is stuck, pull it or twist it in the back and forth direction. It will come out quickly. Now fit a new tailpiece and the trap. This tailpiece will be provided along with the P-trap by the shopper, as it helps to fit it adequately. If the shopkeeper still needs to provide tail pieces, you can make some distance (maybe 4-6 cm) and cut the P-trap at the appropriate length to fit properly. Please make sure you match it to a particular size so that it wouldn’t create any problems.
Step 3. Test Fit the New Trap
Before installing the P-trap permanently, check the p-trap. If you believe the length is too much, cut it with a pipe cutter and make the extension. Ensure you fit it appropriately by noticing the arm and bending the trap’s position.
Step 4. Use PVC Primer
Once you know the fitting, use PVC primer and cement to join the drain and the pipe together. Press and hold both components together. You can also connect it with slip nuts and washers. Tighten the nuts so that they wouldn’t create leaks.
Note: We will not recommend using Teflon tape because it can create issues if you over-tighten it. Slipping is one of the most common issues due to Teflon tape, so avoid it.
Step 5. Turn on the Water Supply
Turn on the main water supply to check if you have done the connection or replacement correctly. Put a bucket under the P-trap; if there is no leakage, you finish your job. To get 100% confirmation, you should place some paper towels near the P-trap to check for any leakage for 1-2 weeks.
Make sure you have read all the step-by-step processes above in a very detailed way. If you are used to performing a plumbing task, you will only require up to 30 minutes to accomplish it as it is one of the most straightforward processes. But if you are new, it will take 1 to 2 hours to understand the essential components of the plumbing system. So, make sure you are investing appropriate time to perform this task.
Also Read:- 4 Easy Ways to Seal A Sink Drain Pipe
Frequently Asked Questions
How Can I Identify the P Trap?
The p trap is easily visible, and you can quickly locate it behind your sink. Apart from this, the P-trap is in the shape of “P” or “U,” so if you see any component in this shape, it is a P trap.
Can I use Glue Instead of PVC Primer?
As your pipe is of PVC, we recommend you use only PVC primer, which is effective against continuous water use. If you use any other kind of glue, the water can easily be washed out by continuous water use.
Can I Use Teflon Tape?
We will never recommend using any kind of tape over your threading or fittings of the PVC trap. It is because over-tightening can always result in issues like pipe bursting, leakage, loss of nuts, etc.
Conclusion
P-trap is one of the most critical components of the plumbing system and comes in different materials like plastic, PVC, etc. In this article, we discussed replacing PVC sink traps with the help of PVC primer. Before performing the replacement process, ensure you have already invested in a new P-trap and matched the dimensions to fit your drain appropriately. We hope that the above article has helped you to ease the process. We recommend you never use the Teflon tape while replacing the P trap because over-tightening can harm the threads or fittings of the PVC trap.

