Having clean and fresh drinking water is a necessity. It is a vital factor in ensuring that we are always hydrated and we reach our daily hydration goals to stay in good health. The sad truth, however, is that water supplies are often not pure. In fact, most of the time, the water source that supplies water in our homes is not safe for consumption on its own.
This is the main reason why filtering water is essential in the household. One of the most convenient and innovative ways to filter water is through a refrigerator water filter. Having a refrigerator that has a water filter built into it is a great and easy way to always have clean and fresh water – and ice – for you and your family.
A KitchenAid refrigerator water filter is a great way to ensure that clean and fresh H2O is easily within reach in your home. The KitchenAid water filter is built into their refrigerator so that the water and ice you get from the appliance is safe for consumption — and tastes great too! Keep it in optimal condition by making sure to replace your KitchenAid water filter each and every time it is due.
If your KitchenAid water filter is up for replacement, we’ve got you covered with our handy guide. Check it out and learn how to replace the KitchenAid water filter in simple steps!
The Importance of Replacing a KitchenAid Water Filter
The main purpose of a refrigerator water filter is to screen out the impurities that are found in your household’s water supply. This enables the refrigerator to supply you with drinking water and ice that is filtered and safe to drink.
The water filter screens out these impurities and contamination by separating them from the water. That’s why, as time goes on, the mesh screen of your KitchenAid water filter will then eventually be clogged with the impurities and contaminants that it filters out, hindering it from functioning properly. This may even lead to the mesh screen passing contaminants toward your refrigerator’s water.
Think of it this way: A KitchenAid water filter ensures that you always have clean and fresh drinking water at home — and replacing the KitchenAid water filter whenever it is due ensures perfect functioning and has the tools to give you that fresh and clean water.
A KitchenAid water filter is a good investment for yourself and your family. And it’s valuable and worth it too — provided that it always gives a quality performance. This can be ensured as long as you diligently replace your filter when the signs are there. Do not ignore these signs because this can lead to malfunctions that waste your investment and lead to less protection for your household.
The Signs That You Need to Replace Your KitchenAid Water Filter

Now that we’ve established the importance of changing the water filter in your KitchenAid refrigerator, the next step is to know when exactly you should do that.
The most pressing question is: How can I know when to replace my KitchenAid water filter? Well! The rule of thumb is generally to replace the water filter every six months. However, an even better way to know when replacement is needed is by listening to your appliance. After all, there are signs that will tell you when you need to switch to a new water filter — you just have to be aware of these signs!
There are indicators that will pop up as time passes that will remind you that you need to replace your water filter. Here are a few of these signs:
- The light of the filter indicator is illuminated.
- The ice maker is no longer able to make ice properly.
- The ice maker can still make ice, but the ice cubes that it proceeds are smaller in size than usual or come in weird shapes and forms.
- The water that is dispensed by the refrigerator has a bad taste or odor to it.
- It takes noticeably longer for the refrigerator to dispense water toward your glass or container.
Also Read: How To Make Distilled Water
Steps to Follow in Replacing Your KitchenAid Water Filter
So, you know the signs that indicate when your water filter needs to be replaced — and now you are noticing these signs! You need to replace your KitchenAid water filter, and that can seem to be a daunting task. But if you know these simple steps and follow them, changing your water filter will be easy as pie.
There are two most common types of KitchenAid water filters: The push-in water filter and the twist-in water filter. Know which one you have (check the manual), and then follow our basic guide on how to replace KitchenAid water filters.
1. Replacing The KitchenAid Refrigerator Push-In Filter

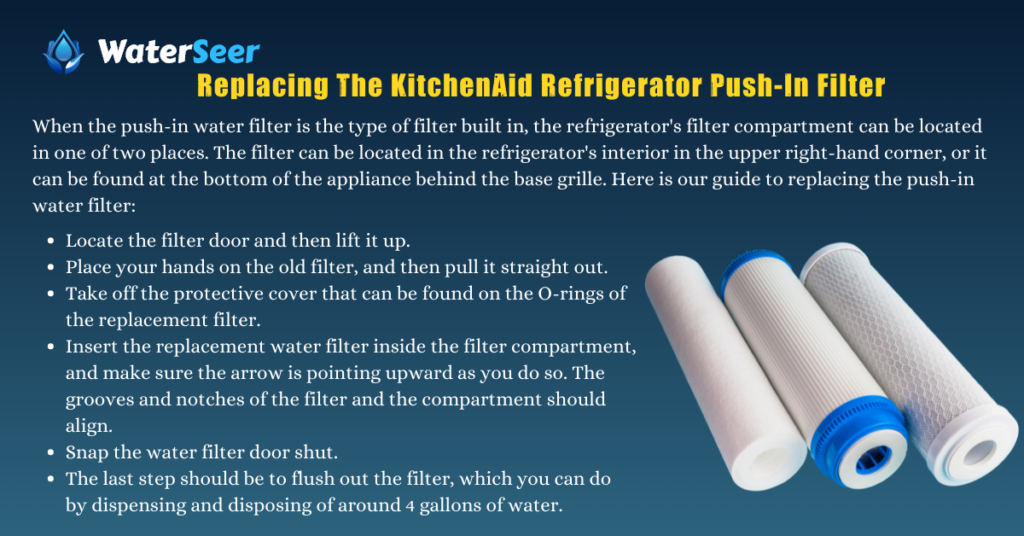
When the push-in water filter is the type of filter built in, the refrigerator’s filter compartment can be located in one of two places. The filter can be located in the refrigerator’s interior in the upper right-hand corner, or it can be found at the bottom of the appliance behind the base grille. Here is our guide to replacing the push-in water filter:
- Locate the filter door and then lift it up.
- Place your hands on the old filter, and then pull it straight out.
- Take off the protective cover that can be found on the O-rings of the replacement filter.
- Insert the replacement water filter inside the filter compartment, and make sure the arrow is pointing upward as you do so. The grooves and notches of the filter and the compartment should align.
- Snap the water filter door shut.
- The last step should be to flush out the filter, which you can do by dispensing and disposing of around 4 gallons of water.
2. Replacing The KitchenAid Refrigerator Twist-In Filter

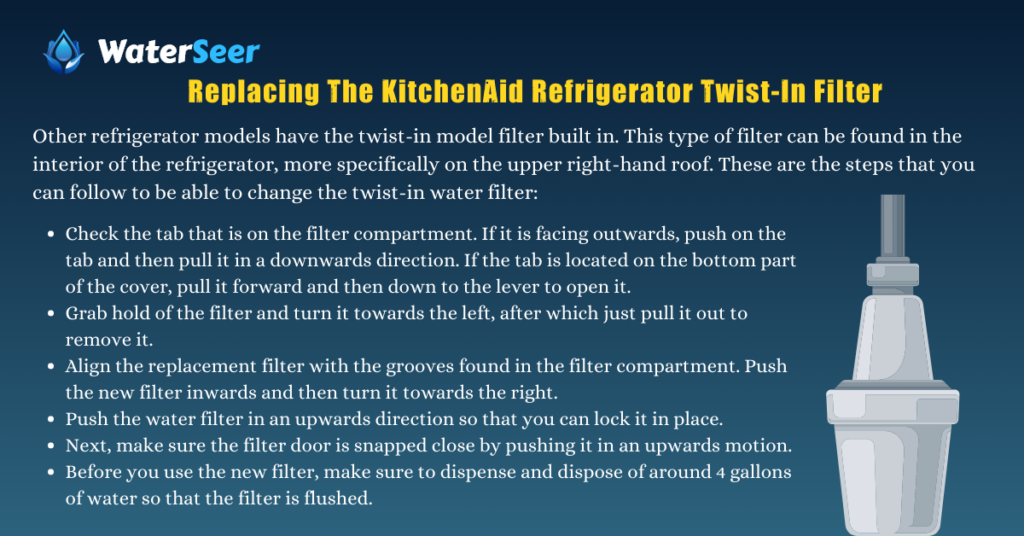
Other refrigerator models have the twist-in model filter built in. This type of filter can be found in the interior of the refrigerator, more specifically on the upper right-hand roof. These are the steps that you can follow to be able to change the twist-in water filter:
- Check the tab that is on the filter compartment. If it is facing outwards, push on the tab and then pull it in a downwards direction. If the tab is located on the bottom part of the cover, pull it forward and then down to the lever to open it.
- Grab hold of the filter and turn it towards the left, after which just pull it out to remove it.
- Align the replacement filter with the grooves found in the filter compartment. Push the new filter inwards and then turn it towards the right.
- Push the water filter in an upwards direction so that you can lock it in place.
- Next, make sure the filter door is snapped close by pushing it in an upwards motion.
- Before you use the new filter, make sure to dispense and dispose of around 4 gallons of water so that the filter is flushed.
Read More: Whole House Water Filter
Troubleshooting a Water Filter That Won’t Come Out
Though it is generally easy to remove an old water filter, there are a few rogue ones that may seem like they won’t want to come out. For these stubborn filters, a little persuasion may be needed to release their hold on your refrigerator. So is the KitchenAid water filter that you have stuck when you attempt to take it out? These are a few easy fixes that can address this conundrum:
1. Stuck Base Grille Filters
- In order for you to access the filter better, take off the base grille.
- Take a cloth and place it on top of the cap of the filter.
- Using pliers, grip the cloth and then twist the cap just a quarter turn.
- Finally, grab the filter and then pull it straight out!
2. Stuck Interior Filters
- For these types of water filters, the first troubleshooting step is to open and then close the door of the filter compartment again.
- Next, ensure that the door of the filter compartment is fully open.
- Lessen the pressure in the water line of the refrigerator. This can be done by switching off the water valve of the refrigerator and letting out the remaining water that is in the dispenser. Do this before you attempt to take out the old filter.
Keep in Mind
If you encounter any major problems as you try to change the KitchenAid water filter or if you encounter any problems with your refrigerator, sometimes it’s best to leave it to the professionals. Reach out to repair personnel so they can assist you!
Replacing a KitchenAid water filter is not complicated and can be done fairly easily. By following these simple steps, almost anyone will be able to learn to do it and get it done. The only major snag you may hit when trying to replace your filter is if your old filter is a bit hard-headed and doesn’t want to come out. In these cases, simple troubleshooting tips can often do the trick!

